Winter is here and it is time to perform some maintenance items that you have been putting off while enjoying the Summer and Fall in your RV. One very important maintenance item is your RV batteries. Beyond keeping the water levels up in your RV batteries, it’s also important to keep the battery terminals clean and corrosion-free.
Dirty and corroded battery terminals are not just unsightly to look at, but they can also cause charging and starting issues. On your house bank, dirty or corroded terminals can cause a reduction in the amount of time available for being on just battery power(boondocking).
Here are 10 steps to cleaning and protecting your RV batteries
1. Gather Your Tools
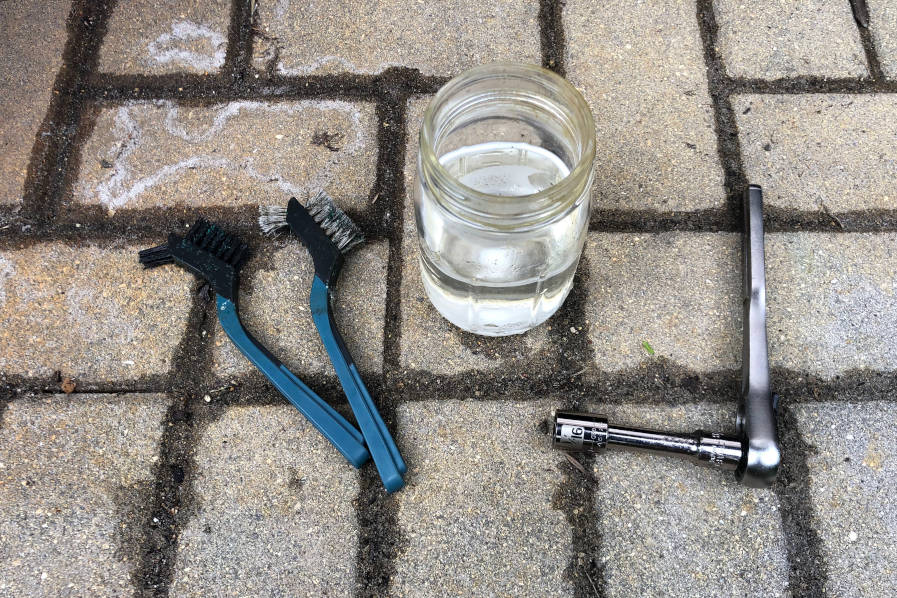
You’re going to want to have some tools ready to perform this battery maintenance. Some of the tools that I use are a Battery cleaning solution made from 1 tablespoon of baking soda to 1 cup of water. A wire brush and nylon brush for cleaning. A slotted screwdriver comes in handy for scraping off any large bits of corrosion. You will also need a wrench or socket for removing the battery cables from the battery. Corrosion gets underneath, and it’s almost impossible to remove all the corrosion without removing the cables.

2. Disconnect the batteries from the RV
It goes without saying that safety is your first priority. Disconnecting the battery from the RV will prevent arcing when removing the cables. Most RVs will have a battery disconnect switch for that purpose.
3. Remove the battery cable
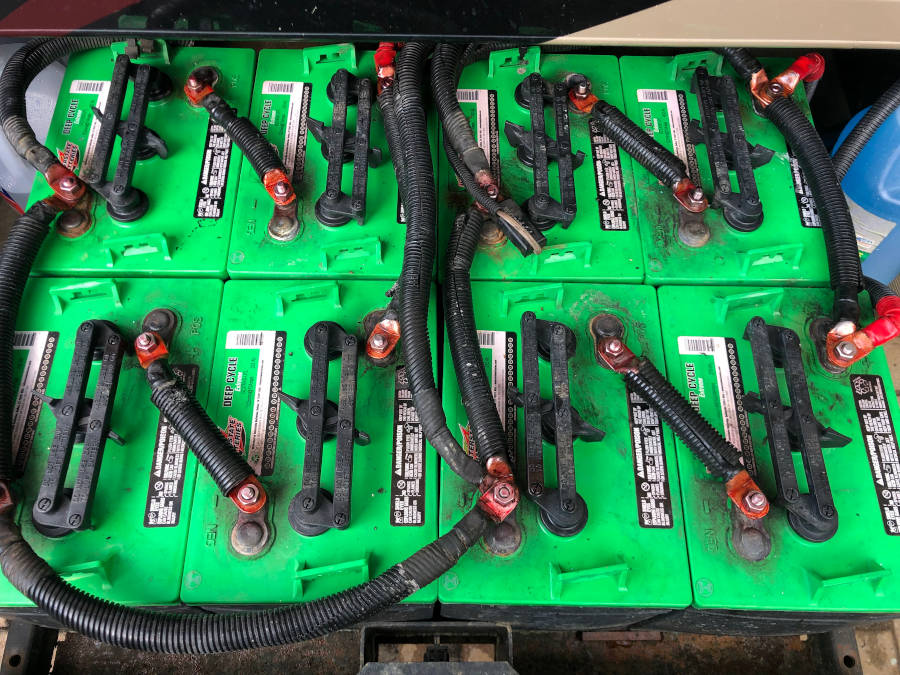
It’s time to start cleaning and you are going to start removing cables. I work on mine by removing them one at a time, cleaning, reinstalling, and repeating. If you want to remove them all at once, just remember to mark them with their correct positions so that you don’t get lost when reinstalling them.
4. Clean the cable end
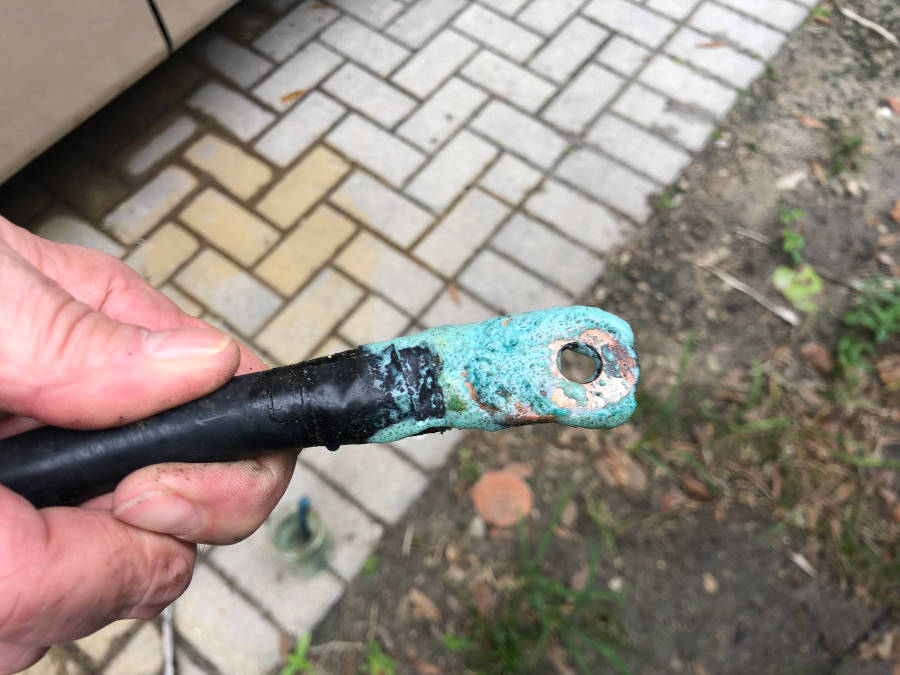
Hopefully, you won’t have too much corrosion to deal with, but if you have some large pieces of corrosion on them, start by scraping off this excess corrosion. Then, use the baking soda solution to clean the terminal end. wherever there is corrosion, the solution will bubble as it reacts. (This is on acid-caused corrosion versus regular rust.)
You can let the solution soak but eventually, you will need to use a brush to get the remaining bits off. If it is just a minor bit of corrosion, you can get away with using just a nylon brush. If it is heavy corrosion that has caused pitting of the terminal end, then you will need to use the wire brush to get it out of the pits.

5. Inspect the cable and terminal ends on your RV Batteries
Now is a good time to inspect that cable. You’ve got it disconnected, so go ahead and check to make sure that the terminal is still good and tight on the wire. And that pitting I mentioned? Make sure that it has not degraded the terminal end too much. If it has, you are going to want to replace that cable or terminal end. Take a look at the cable itself to make sure there are no scuffed or torn areas that have exposed the wire.
6. Clean the battery terminals
While you’ve got the battery cables off, give the battery post a good cleaning. Use the same solution on the post and if you have a battery post cleaning tool, brush the post with that. If not use the wire or nylon brush that I mentioned before. Wipe the excess solution off of the battery terminal.
7. Protect the terminal end on the RV Batteries
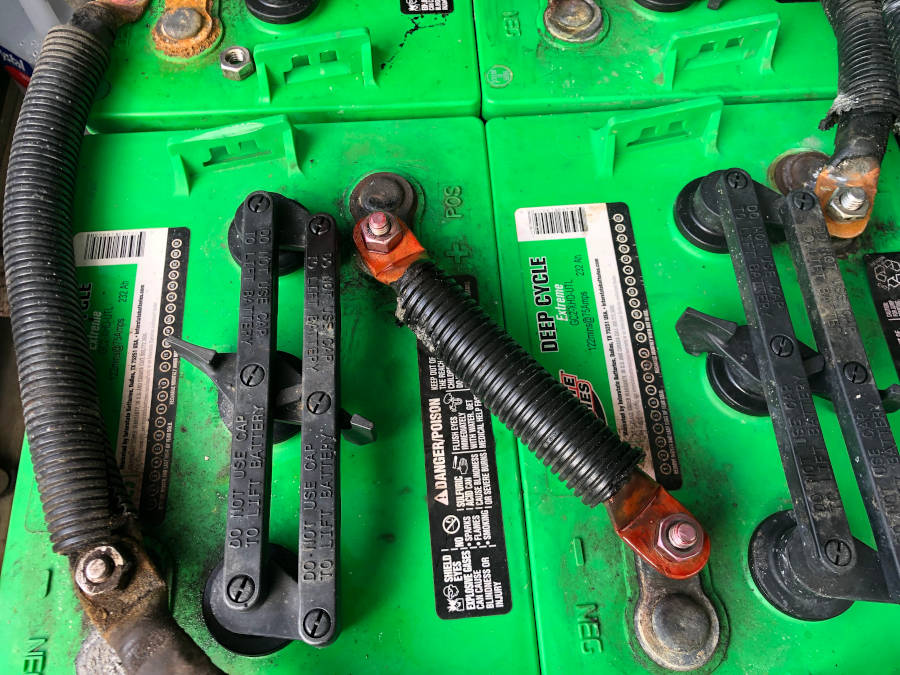
Now it’s time to start putting a protectant on the terminal to protect it against more corrosion. I use CRC battery terminal protector on mine. It comes in a spray can and is red in color. That red is an indicator of protection. If it turns clear later, you will know that it is time to clean and reapply. You can use any other type of protectant such as dielectric grease. They all serve the same function. I start by applying a coat of protectant to the underside of the terminal end. I want to make sure that’s protected, and it is difficult to get good coverage when the terminal is installed on the post.
8. Reinstall the cables
Now you can start reinstalling cables. If you use my method, then install the cable you just finished and repeat from step 3. If not, make sure that you install the cables in their proper positions on the battery. Hopefully, you marked them. Putting them on the wrong posts can lead to some nasty problems.

9. Finish protecting your RV Batteries terminals and posts
Now that all the cables are back on their proper battery posts, go ahead and finish protecting the terminals and posts. I spray the CRC on the top sides of the terminals and the nut that secures them. If you use dielectric grease, then apply a thin coating to all surfaces of the terminal and post.
10. Stand back and admire your work on your RV Batteries
That’s a job well done and now you have a clean and healthy set of batteries. Don/t forget to put away your tools.
As I mentioned earlier, it’s important to keep your batteries clean and corrosion-free. Not only does this help with starting and charging issues, but periodically performing these 10 steps will also help to extend the life of your batteries. RV batteries aren’t cheap, so keep them protected.

How do you clean the RV battery compartment?
Clean the battery tray with a mixture of baking soda and water, or some other approved cleaning solutions using a small non-metallic brush. Wipe the tray clean and dry, and then replace the cleaned and serviceable battery. Replace the restraints and make sure they are holding the battery securely in position.
What makes RV batteries corrode?
Flooded cell batteries (those with water in the cells) will out-gas when charged, and the gasses contain sulfuric acid that corrodes anything it touches. Out-gassing simply means that bubbles rise through the water-acid solution in the RV battery cells and burst, scattering a film of acid through the cell vents.
Want more RV Maintenance Tips? Learn about How to fix your RV Water Pump.
